Insulation does more than keep your home warm in winter or cool in summer. It acts as a barrier that stops heat from escaping or entering where you don’t want it. For homeowners, getting this right means lower utility bills, a more comfortable living space, and even a smaller environmental footprint. But here’s the catch: insulation isn’t a one-and-done deal. Over time, it can settle, get damaged by moisture, or lose its effectiveness if you neglect it. Think about that draft you feel near the windows or the way your energy costs creep up each year. Proper care and attention to longevity can fix those problems and pay off for years.
This guide pulls together everything you need to know about caring for your home’s insulation. Based on years of working with homeowners in various climates, it covers the basics to get you started, then dives into practical steps for maintenance and upgrades. You’ll learn how different types of insulation hold up, what signs to watch for when things go wrong, and simple ways to extend its life without calling in pros every season.
Here’s what you’ll find ahead:
By the end, you’ll have the tools to make your insulation work harder for you. Whether you’re a new homeowner or just looking to optimize what you have, this resource aims to answer your questions and give you confidence in handling things yourself. With this in mind, let’s begin by exploring the core principles of insulation and why proper care makes all the difference.
Start with the fundamentals. Insulation works by trapping air pockets that resist heat flow. The key measure here is R-value, which tells you how well it blocks heat. Higher R-values mean better performance, but the right choice depends on your home’s location, size, and layout.
Why does care matter? Poorly maintained insulation can drop its R-value by up to 20% over a few years, according to the U.S. Department of Energy. That leads to uneven temperatures, higher bills, and potential mold growth if moisture sneaks in. In fact, a study from the National Institute of Standards and Technology points out that settling alone reduces effectiveness in attics by 10-15% annually without intervention.
For most homes, insulation sits in walls, attics, floors, and around openings like doors and windows. Each spot has unique challenges. Attic insulation, for example, faces gravity and dust buildup, while wall insulation battles pests and humidity.
To build a solid foundation, assess your current setup. Walk through your home and note any cold spots or high humidity areas. This baseline helps you prioritize where to focus your efforts.
Not all insulation lasts the same way. Choosing the right type sets the stage for easier care down the line. Let’s look at the main options and what affects their longevity.
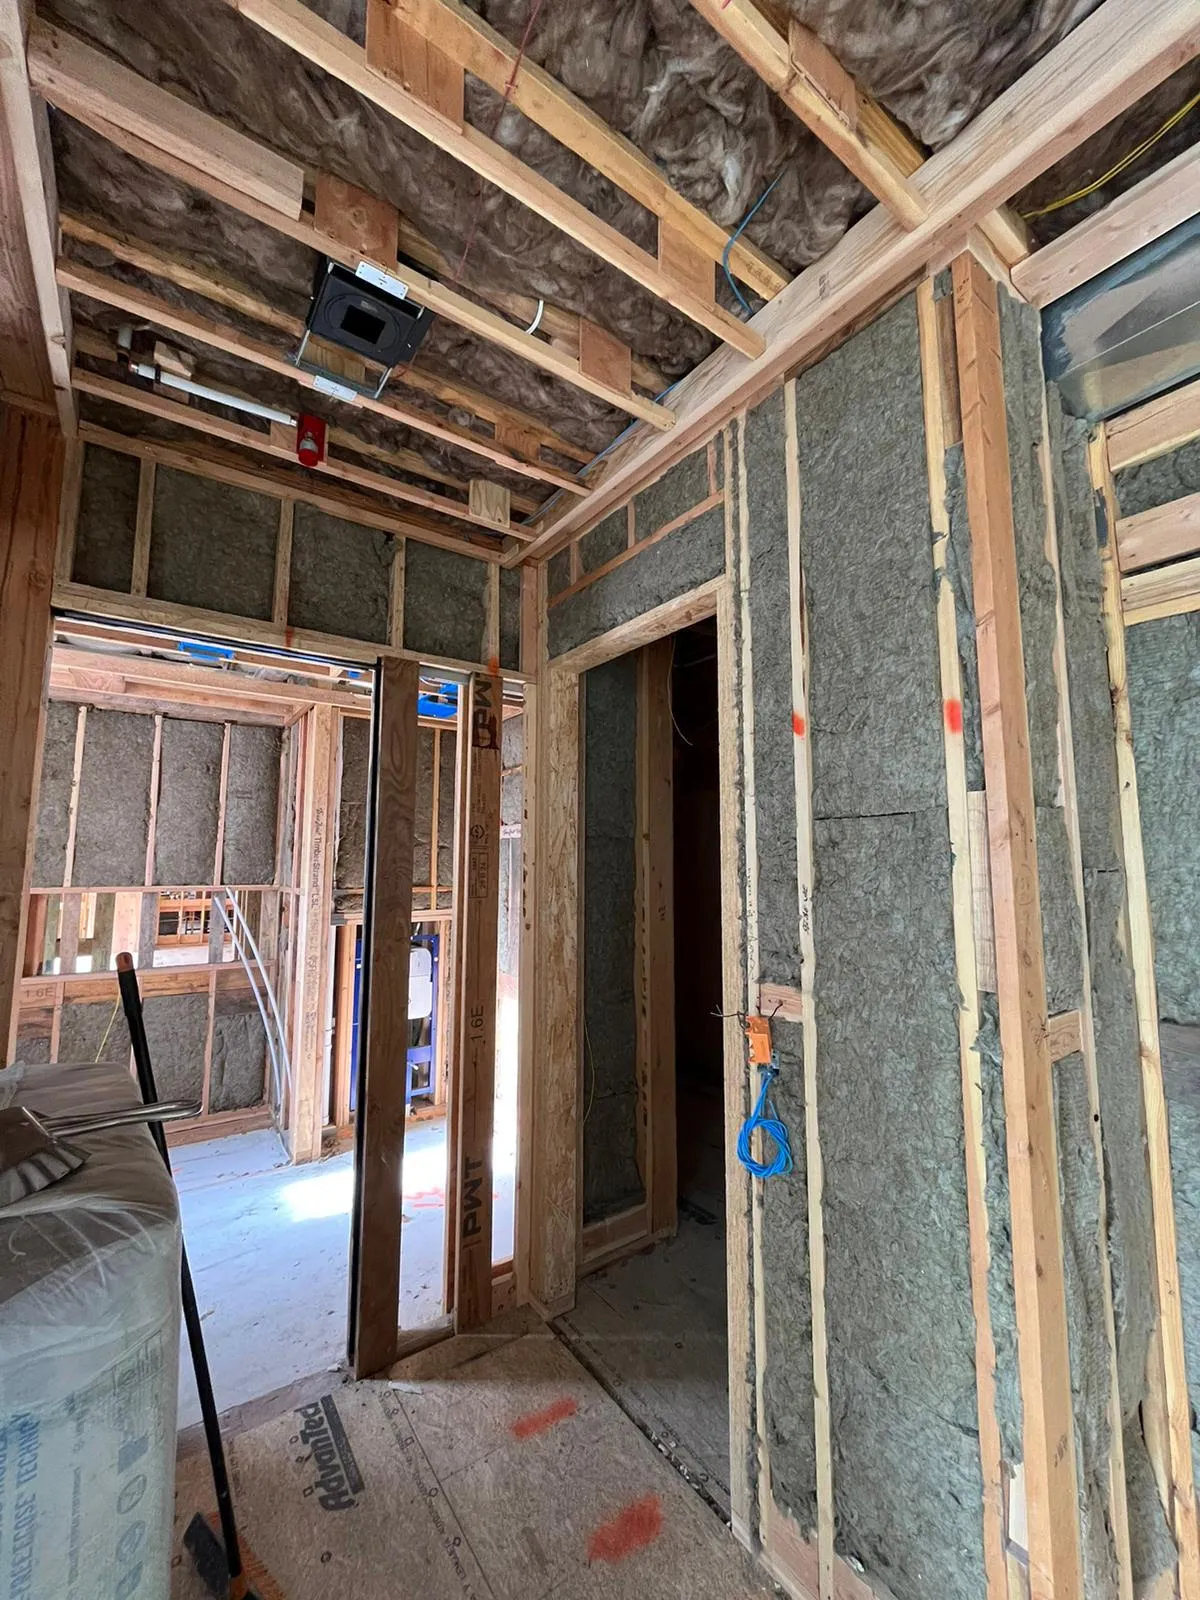
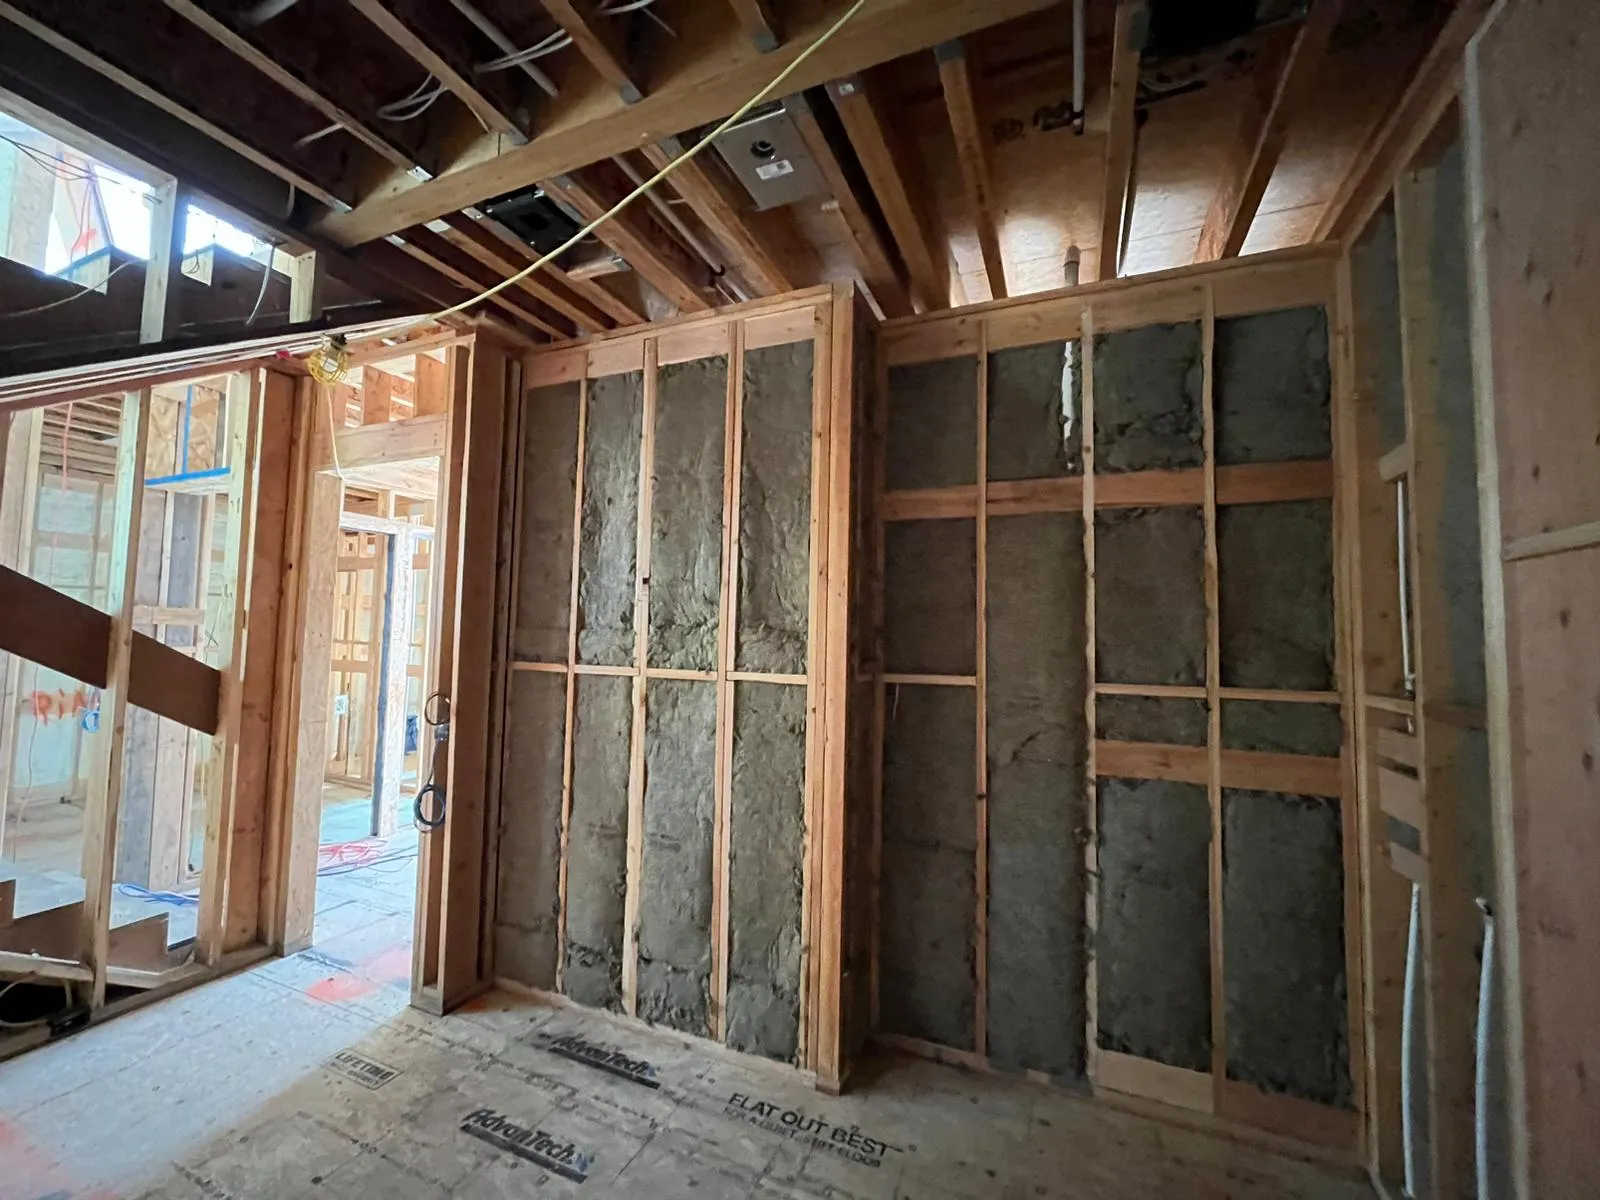
Fiberglass comes in batts or loose-fill forms. It’s affordable and common in attics and walls. Expect it to last 20-30 years with good care. But it irritates skin during handling, and moisture can make it sag, cutting its R-value.
Pros: Easy to install in standard spaces; resists fire well. Cons: Absorbs water if not sealed properly; needs barriers against rodents.
Made from recycled paper, cellulose blows into attics or walls. It boasts an R-value of about 3.5 per inch and lasts 20-40 years. Treated with borates, it deters pests and mold.
Pros: Eco-friendly; fills gaps better than fiberglass. Cons: Settles over time, requiring top-ups; heavy when wet.
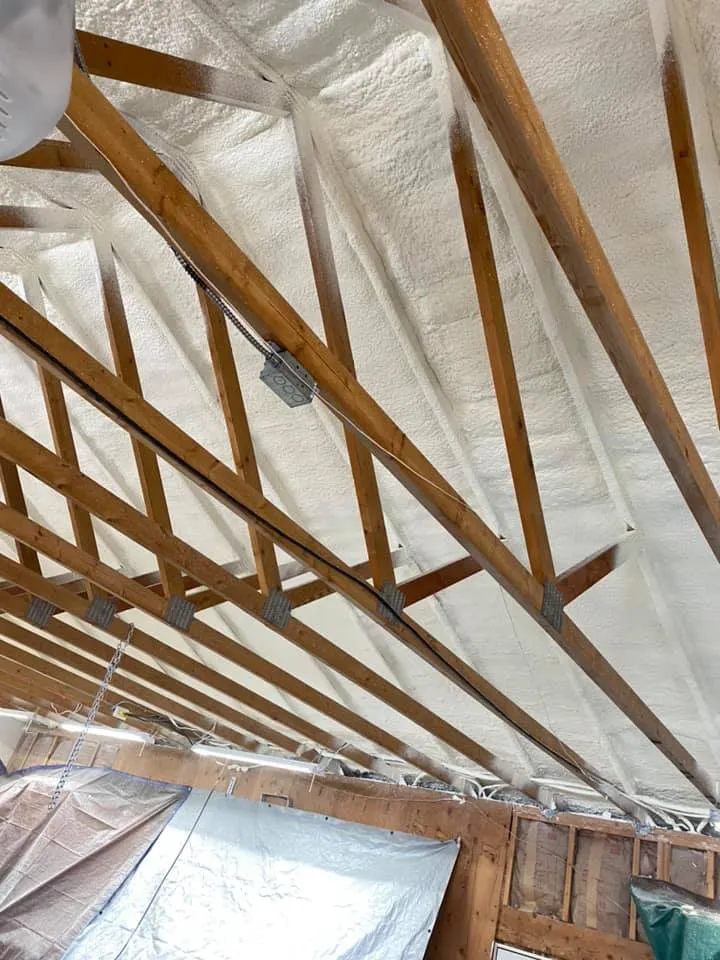
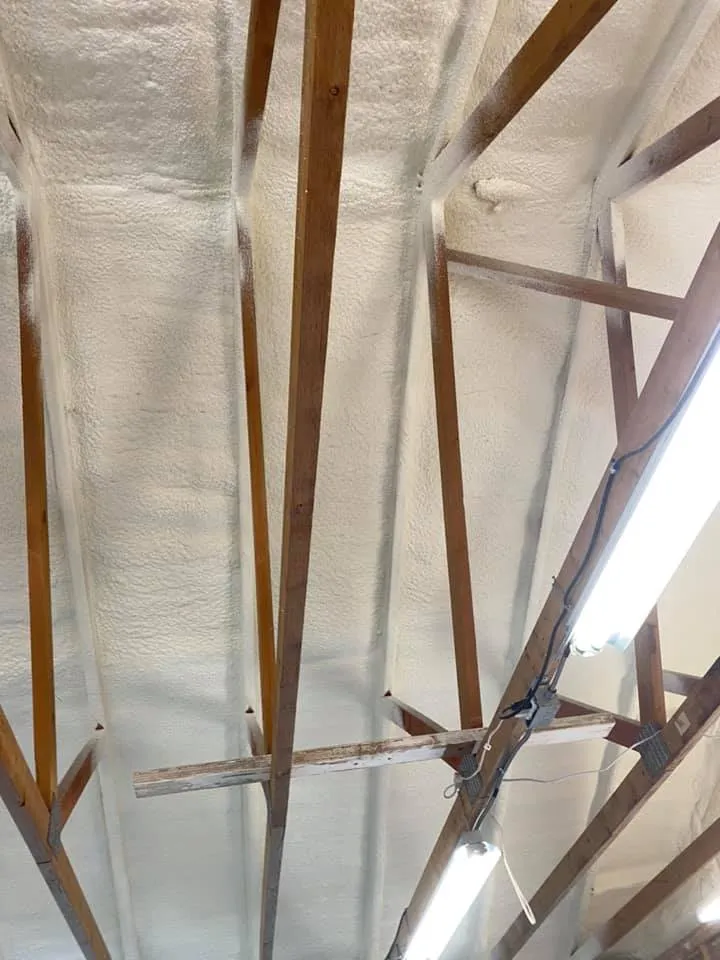
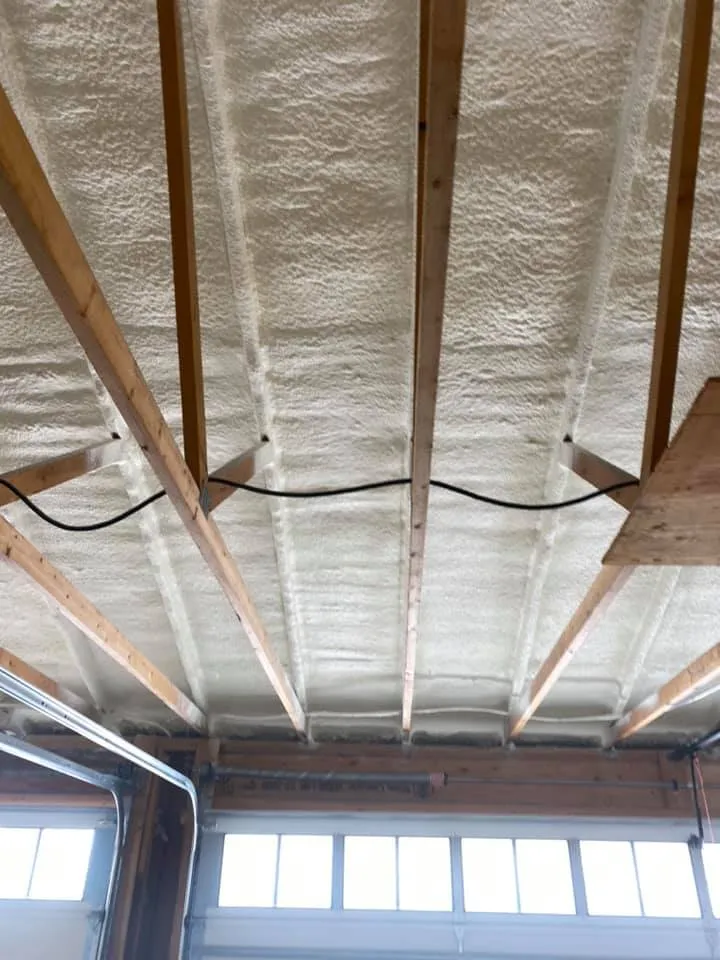
This expands to fill cracks, offering R-values up to 7 per inch. Closed-cell versions last 50+ years, while open-cell might need checks sooner. It’s pricier but seals air leaks tightly.
Pros: High efficiency; acts as a moisture barrier. Cons: Professional installation only; off-gassing during curing.
From rock or slag, this rigid or batt material resists fire and sound. Lifespan hits 40-50 years, and it doesn’t absorb water easily.
Pros: Great for basements; handles high heat. Cons: Heavier; can be dusty.
Here’s a quick comparison:
| Type | R-Value per Inch | Lifespan (Years) | Best For | Care Challenge |
|---|---|---|---|---|
| Fiberglass | 2.2-4.3 | 20-30 | Attics, Walls | Moisture control |
| Cellulose | 3.1-3.8 | 20-40 | Blow-in areas | Settling |
| Spray Foam | 3.6-7 | 30-80 | Sealing gaps | Professional upkeep |
| Mineral Wool | 3-4 | 40-50 | Fire-prone spots | Dust management |
Data from the Insulation Institute shows fiberglass makes up 65% of U.S. residential use, highlighting its popularity despite care needs.
Key Takeaways:
Installation sets the tone for how long your insulation performs. Done wrong, even top materials fail fast. Aim for even coverage without compression, which crushes air pockets and drops R-value.
Clean the area first. Remove old debris, seal air leaks with caulk, and check for moisture sources like roof drips. In attics, lay vapor barriers if your climate demands it—cold areas need them on the warm side.
Expert Tip: Always wear gloves, goggles, and a mask during installation. Fiberglass fibers linger in the air, and skipping gear leads to itchy skin or worse respiratory issues.
The U.S. Department of Energy reports that proper installation alone can boost energy savings by 15%, making upfront effort worthwhile.
For tricky spots like around wiring, cut pieces to fit precisely. Poor fits create convection loops where air circulates and reduces efficiency.
Once your insulation is properly installed, maintenance keeps it effective and extends its life. Treat it like any home system—regular checks prevent big problems.
Spring and Fall: Inspect attics for signs of settling. Add loose-fill if depth drops below spec. Vacuum dust gently to avoid stirring fibers.
Summer: Ensure vents stay clear to let hot air escape. Blocked airflow traps heat and degrades materials faster.
Winter: Look for ice dams on roofs, which signal warm air leaking through poor insulation. Seal gaps around chimneys or pipes.
Use this checklist table for quick reference:
| Task | Frequency | Tools Needed | Notes |
|---|---|---|---|
| Measure depth | Annually | Ruler or depth gauge | Top up if below R-value depth |
| Check for moisture | Biannual | Flashlight, moisture meter | Dry out or replace wet areas |
| Seal air leaks | As needed | Caulk, foam sealant | Focus on windows, doors, attic |
| Pest inspection | Seasonal | Traps, professional | Rodents chew fiberglass |
A report from ENERGY STAR indicates that homes with annual maintenance save an average of $200 yearly on heating costs.
Expert Tip: In humid areas, run a dehumidifier near basement insulation. Excess moisture at 60% relative humidity starts mold growth, which ruins cellulose fast.
Address pests early—mice love nesting in fluffy materials. Set traps and seal entry points.
For wall insulation, listen for unusual noises or feel for cold patches. These hint at compression from shifting structures over time.
Key Takeaways:
Problems don’t announce themselves loudly. Watch for subtle clues to act before damage spreads.
According to the Building Science Corporation, 40% of energy loss in homes stems from insulation failures, underscoring the need for vigilance.
Expert Tip: If you find mold, don’t scrub it yourself—call a pro. Airborne spores during cleaning can spread indoors, affecting air quality.
For minor fixes, add insulation pads over recessed lights or seal cracks. Major issues like widespread settling often require removal and reinstallation.
Eventually, you might need to upgrade. Older homes built before 1980 often have outdated or absent insulation, per HomeAdvisor data showing average replacement costs at $1,500-$3,000.
Replace if it’s over 20 years old, shows damage, or your home feels drafty despite efforts. Energy audits, costing $300-500, pinpoint exact needs.
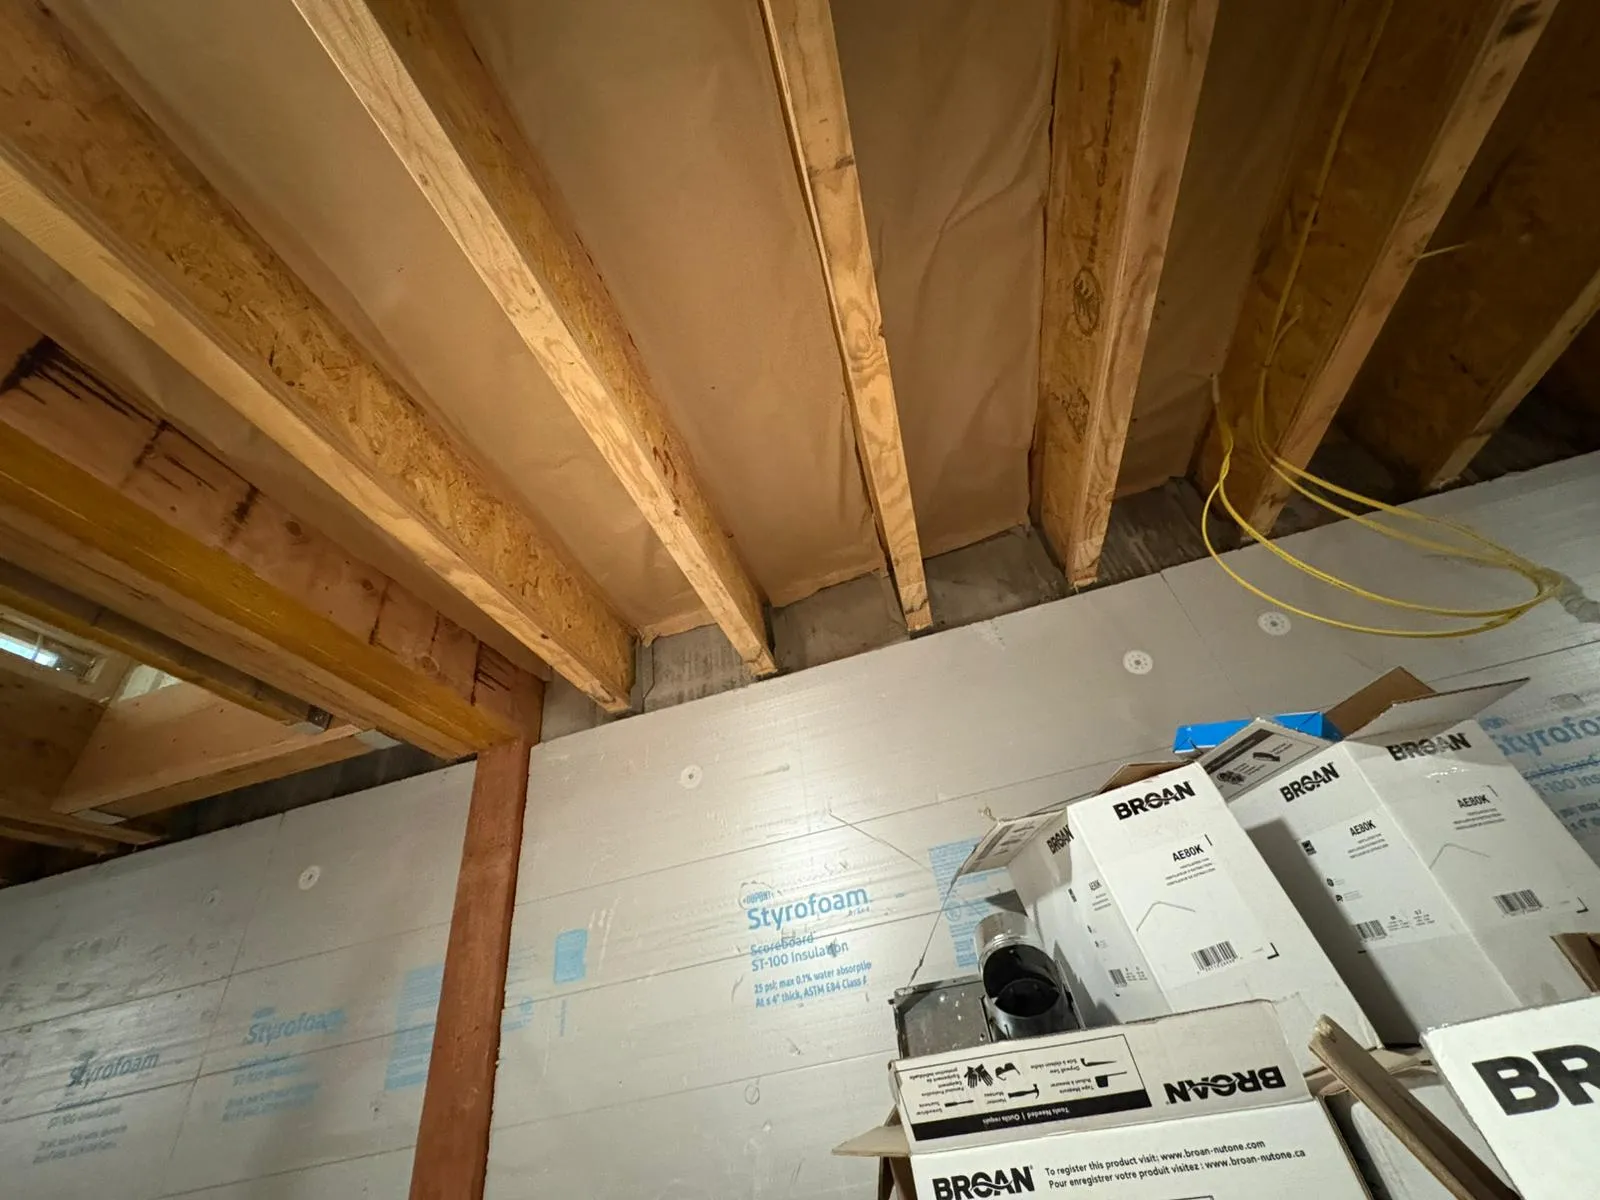
Switch to higher R-value materials or add rigid foam boards for basements. Blown-in works well for retrofits without tearing walls.
Market stat: The global insulation market hit $60 billion in 2022, driven by energy efficiency demands, as noted by Grand View Research.
Expert Tip: During upgrades, insulate ducts too. Leaky ones in attics waste 20-30% of conditioned air—sealing them amplifies benefits.
Hire certified installers for spray foam to avoid voids. DIY for batts if you’re handy, but measure twice.
Good care translates to real savings. Properly maintained insulation cuts heating needs by 25% in cold climates, says the U.S. Department of Energy.
Track ROI by comparing pre- and post-maintenance bills. Add smart thermostats for synergy—they adjust based on insulation performance.
Incorporate weatherstripping around doors; it complements insulation by blocking 10-15% more air infiltration.
Another stat: Homes with optimal insulation see CO2 reductions equivalent to planting 100 trees yearly, per Environmental Protection Agency estimates.
Building on established maintenance practices, let’s consider how emerging innovations can further enhance your insulation’s longevity. Look ahead to innovations like aerogel, a lightweight material with R-10 per inch, or phase-change materials that absorb/release heat.
Smart insulation with sensors monitors performance via apps, alerting you to issues. Recycled denim insulation gains traction for sustainability.
As building codes tighten, expect more emphasis on high-performance options. The International Energy Agency forecasts insulation tech will cut global energy use by 12% by 2030.
Stay informed through local rebates—many utilities offer incentives for upgrades.
Aim for at least once a year, ideally in spring and fall. This catches seasonal effects like settling or moisture before they worsen.
Yes, for batts or loose-fill in accessible areas like attics. Follow safety guidelines and local codes. Leave spray foam to professionals.
It loses R-value and risks mold. Dry it thoroughly; if damage is extensive, remove and replace to avoid health hazards.
It doesn’t have a strict expiration, but effectiveness fades over 20-50 years depending on type and care. Regular maintenance extends life.
Monitor energy bills, comfort levels, and use an energy audit. Stable temps and low bills signal good performance.
Yes, under the Inflation Reduction Act, you may qualify for up to $1,200 in credits. Check ENERGY STAR for details.
Having addressed these common questions, you’ve now got a full picture of how to care for and extend your home’s insulation. From picking the right type to spotting issues early, these steps ensure comfort and savings year-round. Start with a simple inspection today—measure your attic depth and seal any obvious leaks. Use the checklists and tips as ongoing references, and revisit sections as needed. With consistent effort, your insulation will support a more efficient, cozy home for decades.
If tackling insulation feels overwhelming or you spot major issues, professional help makes sense. High Country Solutions offers consultations tailored to your home’s needs. Reach out at [email protected] or call (307) 248-9063 to discuss options and get a personalized plan. High Country Solutions has guided many homeowners through upgrades, ensuring lasting results without the hassle.

