
Why ventilation is a critical partner to your insulation system in Idaho Falls, ID
Ventilation and insulation work as an essential team in Idaho Falls homes, where insulation keeps heat in during winter and…


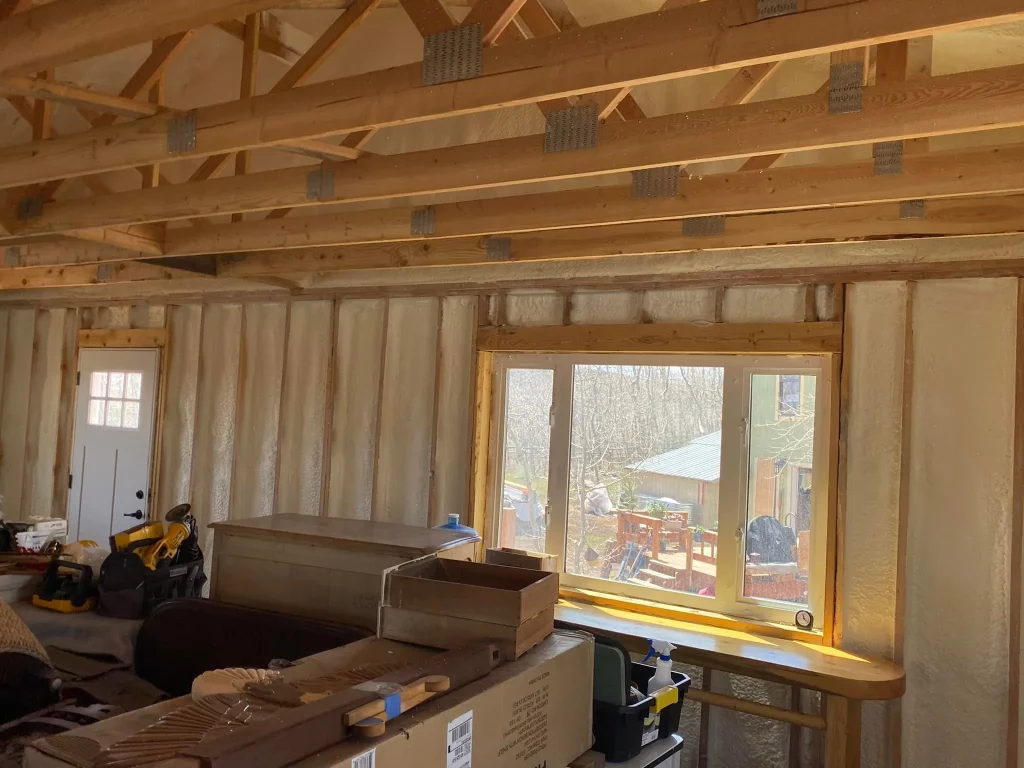
Closed-cell spray foam offers strong insulation and acts as a moisture barrier when installed correctly. Professionals start by preparing surfaces thoroughly, ensuring they remain clean and dry before application. Next, they set up equipment precisely to mix chemicals at the right temperatures, usually between 120 and 140 degrees Fahrenheit for the A and B components. Application follows with even passes to achieve a uniform thickness, aiming for R-values around 6.5 per inch in typical setups.
To achieve reliable results in your own project, this guide covers detailed steps from initial planning to finishing touches. Readers gain practical advice drawn from real-world projects in various climates. High Country Solutions bases this information on direct involvement in numerous installations across challenging environments, confirming the value of these methods through consistent outcomes.
Start with a site assessment to identify any moisture issues or structural concerns. Closed-cell foam expands quickly, so clear obstacles like wiring or plumbing that could interfere. In colder regions like the Rocky Mountains, check for frost on surfaces, as low temperatures slow curing and weaken adhesion.
Clean the area using a vacuum or compressed air to remove dust and debris. Wipe down surfaces with a mild solvent if needed, but test a small spot first to avoid damage. Seal gaps around windows and doors with backer rod to prevent over-expansion into unintended spaces.
Market data shows that proper preparation cuts installation errors by up to 30 percent, according to a study from the Spray Polyurethane Foam Alliance. This step ensures the foam bonds well and performs over time.
Select a high-pressure spray rig calibrated for closed-cell foam, which requires ratios around 1:1 by volume. Heat the chemicals separately in hoses to maintain viscosity; aim for 100 to 120 degrees Fahrenheit at the gun tip. Attach a mixing gun with the correct tip size, often 0.025 to 0.035 inches, based on the project scale.
Test the setup on a scrap board to verify flow and expansion ratio, typically 1:20 for closed-cell types. Calibrate pressure to 1,000 to 1,200 PSI to avoid uneven mixing. In humid climates, use moisture meters on the air supply to keep levels below 5 percent.
Bonus Tip: Run a short purge cycle before each session to clear lines, reducing clogs that waste material.
Apply foam in layers no thicker than 2 inches at a time to control expansion and heat buildup. Hold the gun 12 to 18 inches from the surface and move steadily at about 3 feet per second. Start from the bottom up in wall cavities to push air out and avoid voids.
For roofs or attics, use a fan pattern to cover large areas evenly. Monitor ambient temperatures; in hot weather above 90 degrees Fahrenheit, shorten passes to prevent scorching. In cold snaps below 50 degrees, warm the space with heaters to speed curing.
A table of typical thickness guidelines helps plan coverage:
| Area Type | Recommended Thickness (inches) | Expected R-Value |
|---|---|---|
| Walls | 3-4 | 20-26 |
| Roofs | 4-6 | 26-39 |
| Floors | 2-3 | 13-20 |
This data comes from guidelines by the U.S. Department of Energy, which highlight how thickness affects energy savings.
Building on these guidelines, here’s a bonus tip: Trim excess foam with a saw after it hardens, but wear a respirator to handle any off-gassing during the process.
Regional guidance matters in areas with extreme weather. For high-altitude spots like Wyoming, adjust for thinner air that impacts spray patterns; increase pressure slightly to compensate. Data from the National Institute of Standards and Technology indicates that altitude affects chemical reactions, so test small batches first.
Wear full protective gear, including a supplied-air respirator, coveralls, and gloves rated for chemicals. Set up ventilation fans to keep vapors below OSHA limits of 20 parts per billion. Have spill kits ready with absorbent materials and neutralize with a vinegar solution.
Monitor crew for symptoms like dizziness and rotate shifts in enclosed spaces. Ground all equipment to prevent static sparks, which could ignite fumes. Post signs warning of isocyanate hazards and ensure first-aid stations include eye wash.
Overlooking substrate temperature leads to poor adhesion; always warm surfaces to at least 60 degrees Fahrenheit. Skipping ambient checks causes uneven cure, especially in drafts. Applying too thickly traps heat and creates defects.
Rushing cleanup clogs guns; flush immediately with approved cleaners. Ignoring ventilation increases health risks. Market facts reveal that 25 percent of foam failures stem from these errors, per a report from Building Science Corporation.
Bonus Tip: Document each step with photos to track progress and troubleshoot later.
Beyond avoiding these mistakes, broader considerations can guide your project decisions as you plan ahead.
Assess building codes in your area, as some regions limit foam use near living spaces due to fire ratings. Calculate total material needs based on square footage and desired R-value; closed-cell often costs $1 to $2 per board foot installed.
Evaluate environmental impact; closed-cell foams use HFC blowing agents with high global warming potential. Consider crew experience level, as mishandling leads to voids or off-ratio mixes. Budget for post-installation testing, like infrared scans, to verify coverage.
Weigh long-term benefits against upfront costs. Energy savings average 20 to 50 percent in retrofits, according to the U.S. Department of Energy. Factor in climate specifics, like heavy snow loads requiring extra structural support.
Aim for 60 to 80 degrees Fahrenheit indoors, with chemicals at 120 to 140 degrees. Outside this, performance drops, and voids form more easily.
It sets in seconds and becomes tack-free in minutes, but full cure takes 24 hours. Avoid disturbing it during this time.
Yes, its closed structure resists moisture, but apply in areas below 70 percent relative humidity to ensure proper expansion.
Certified training from organizations like SPFA covers safe handling and techniques, reducing risks significantly.
Check for contaminants or temperature issues; sand and reapply in stubborn spots after correcting the cause.
Effective installation of closed-cell spray foam starts with solid preparation and precise equipment handling. Follow techniques for even application and prioritize safety to avoid common pitfalls. Consider local codes and climate factors before proceeding. Evaluate your project’s needs against these tips to ensure lasting insulation benefits.
For hands-on advice on closed-cell spray foam projects, reach out to High Country Solutions at [email protected] or call (307) 248-9063. Experienced teams address specific challenges in insulation work, helping plan and execute installations that meet standards. This step clarifies options and avoids costly mistakes in your build.

